Recoveryfix Free Document Converter | How It Work?
How to Convert Documents Using Our Software?
Download Recoveryfix Free Document Converter and install it on your system. Then follow the steps below to convert your documents.
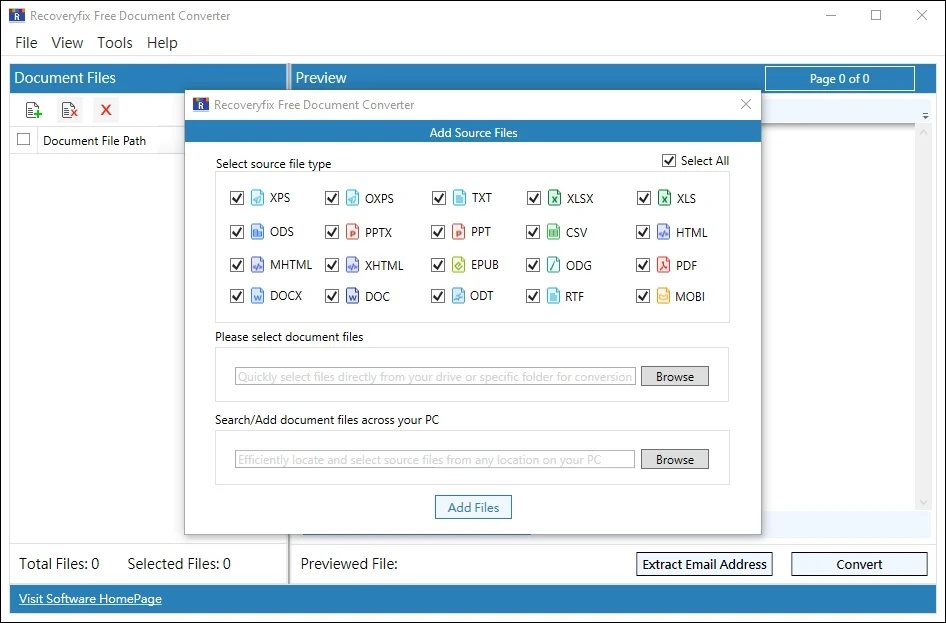
Step 1: Select All or any specific source file type for conversion.
Step 2: Browse to select document files individually or entire folders with the second option.
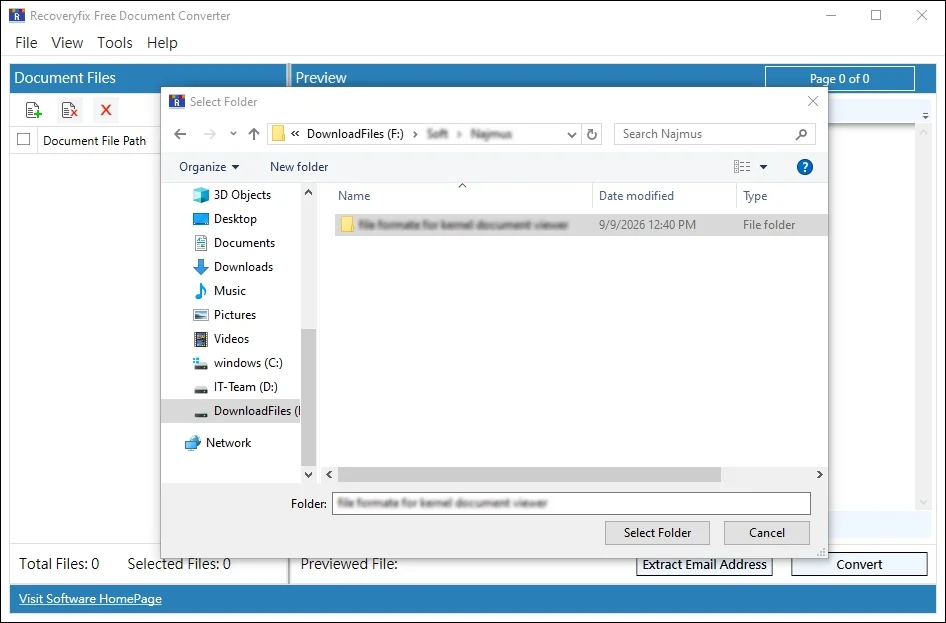
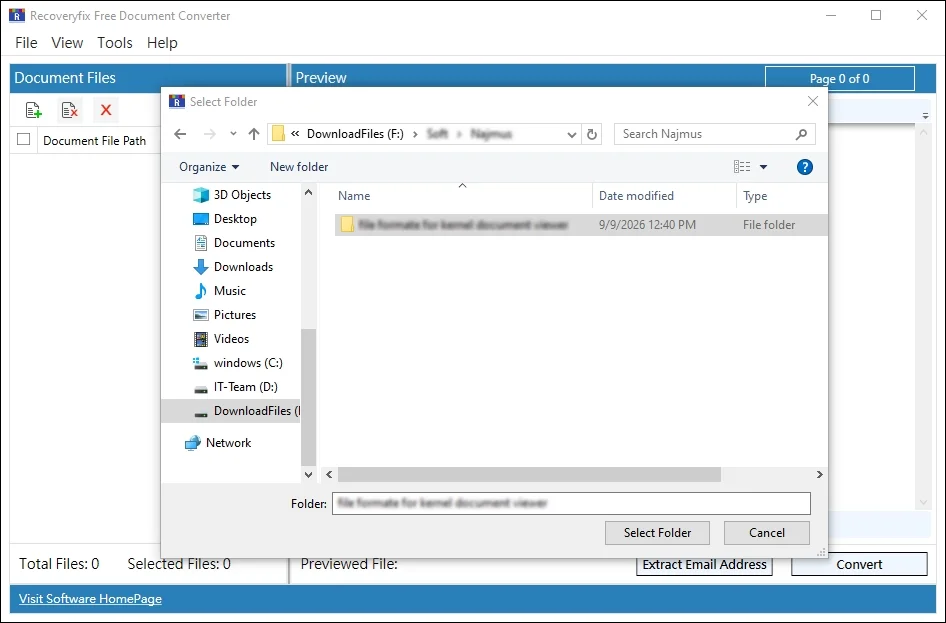
Step 3: Here, we are choosing the entire folder. Once done, click on Select Folder to proceed.
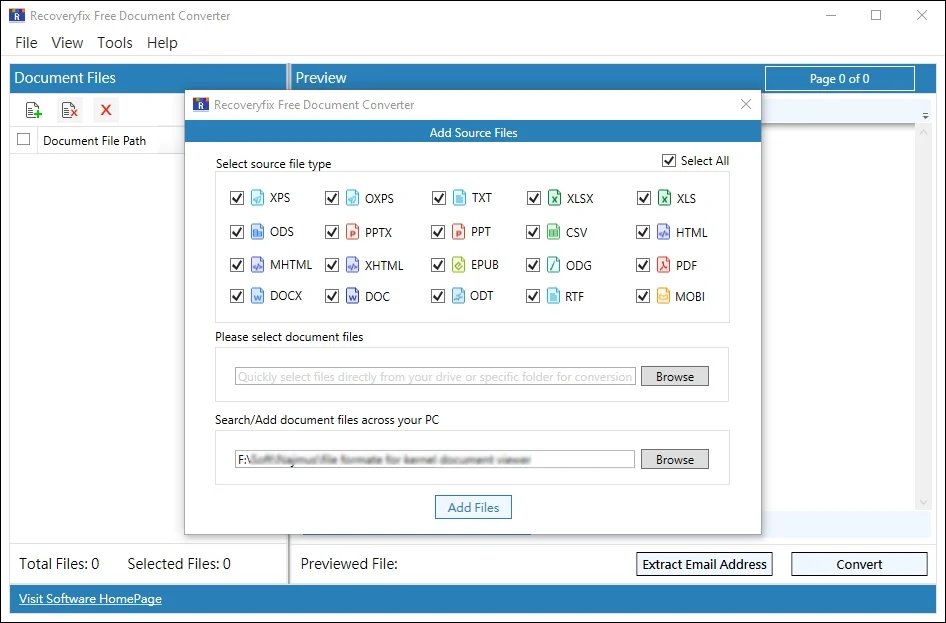
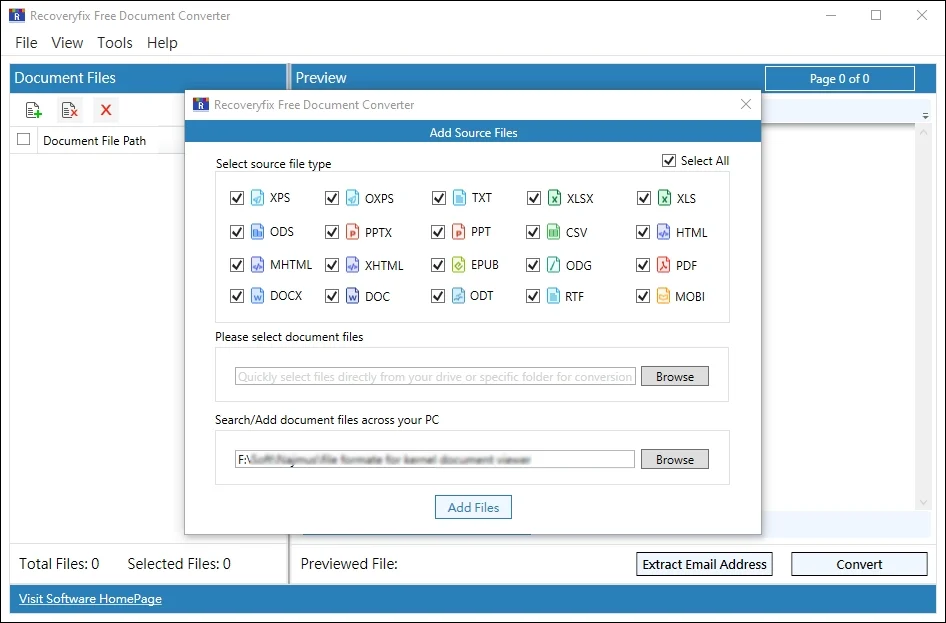
Step 4: Click on Add Files after the file or folder selection is completed.
Step 5: Preview the added files by clicking on them. Besides that, the preview section also allows you to perform different operations:
- Print directly from the tool.
- Zoom controls for better visibility.
- Copy text from the XPS or OXPS files.
- Select Theme Settings from Blue, Fuchsia, Green, Dark, or Orange.
- Type text to find (using whole word, case, diacritic, Kashida, or Alef Hamza) within the documents.
Step 6: After previewing the file, select all or only the required document files to Convert them.
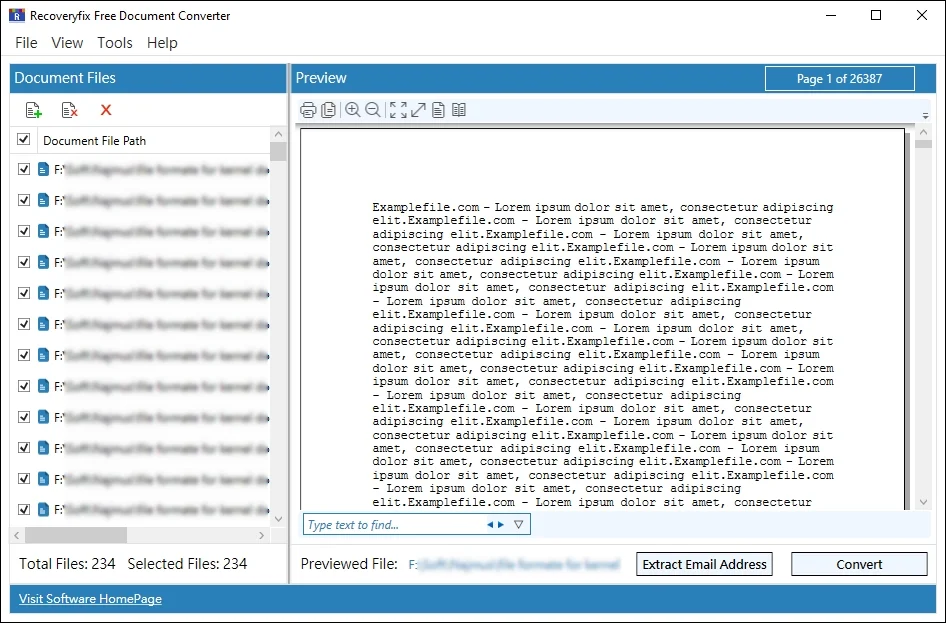
Step 7: Enter Password to Unlock the protected files for conversion.
Note:In case of multiple files, you can use the Unlock via CSV option to unlock and convert them with the password-mapped CSV file.
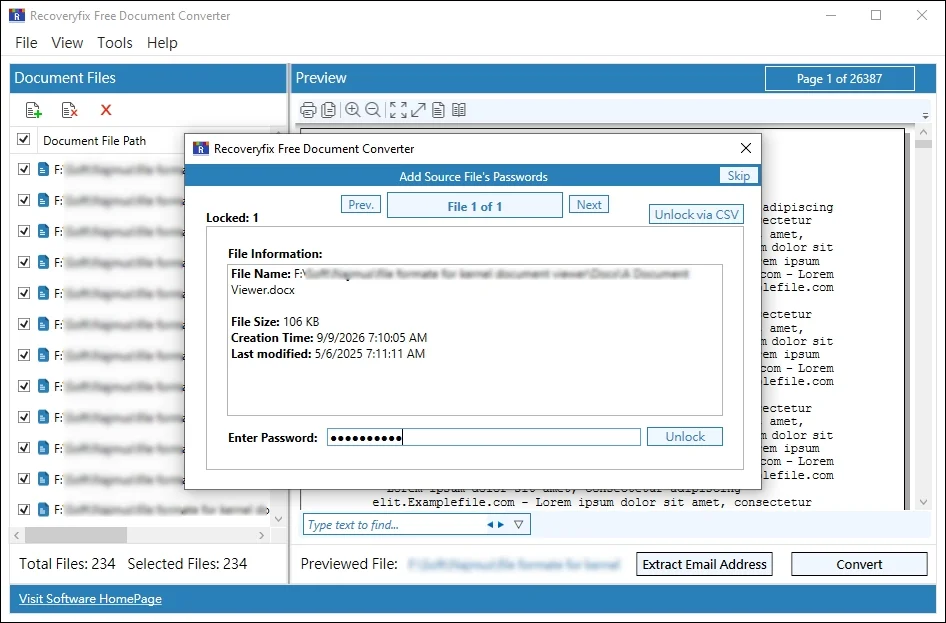
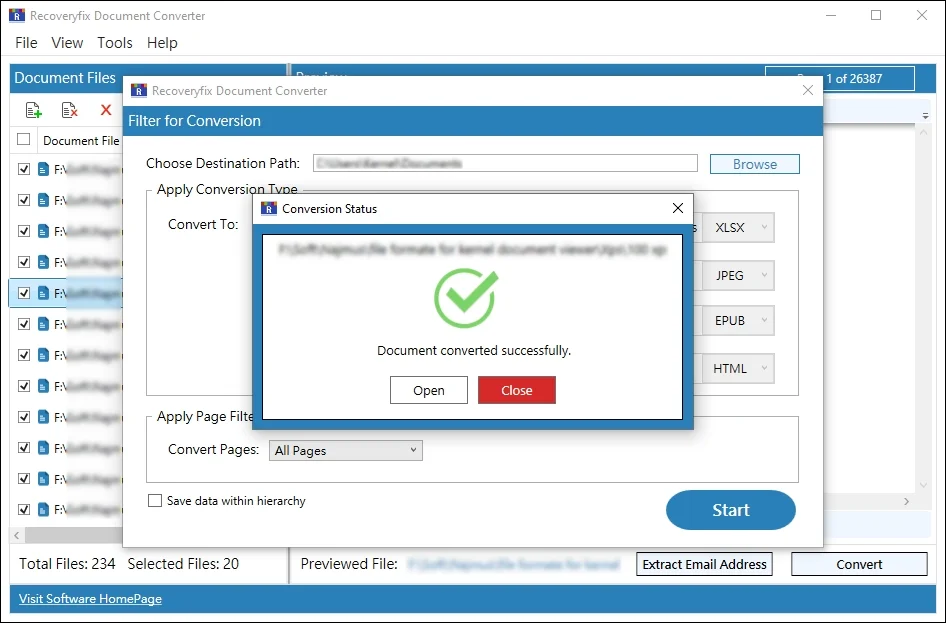
Step 8: Browse to provide the Destination Path. Then, select the appropriate Conversion Type:
- Adobe Acrobat: PDF
- Ebook Formats: EPUB
- Microsoft XPS: XPS, OXPS
- Web Formats: HTML, MHTML
- Presentation Formats: PPTX, PPT
- Spreadsheet Formats: XLSX, XLS, ODS, CSV
- Document formats: DOCX, DOC, ODT, RTF, TXT
- Image Formats: JPEG, BMP, EMF, TIFF, PNG, GIF, SVG, JPG
Step 9: Then, Apply Page Filters that are applicable to you:
- All Pages
- Even Pages
- Odd Pages
- Page Ranges
- Page Numbers
Once done, check the Save data within hierarchy option and Start conversion.
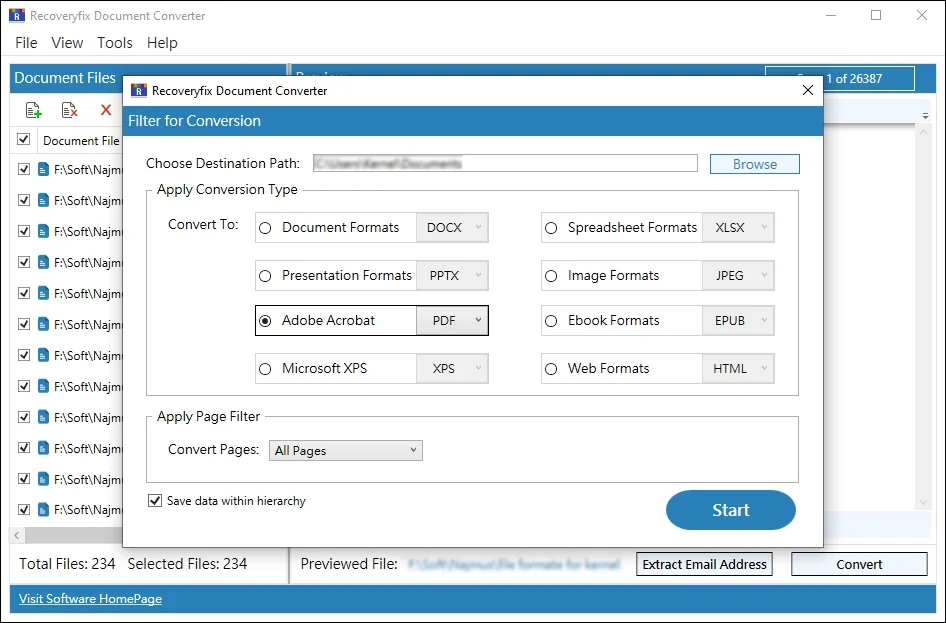
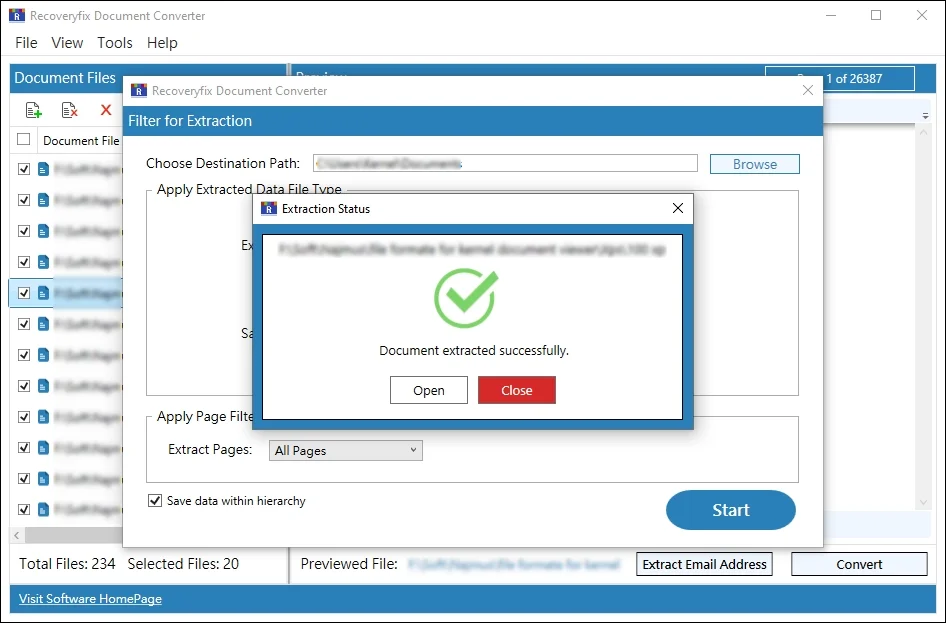
Step 10: The software will start converting your added documents.
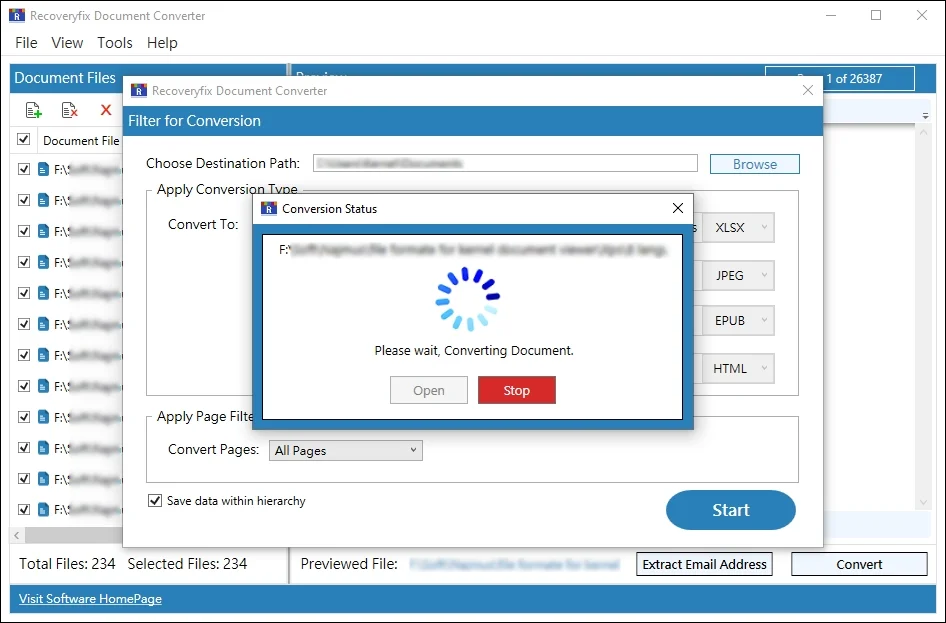
Step 11: Open to access & verify the converted files directly after the process is completed.
How to Extract Email Addresses From Documents?
Here are the detailed steps to extract email addresses from the added documents using the Recoveryfix tool.
Step 1: Access the software on your system to begin.
Step 2: Select All or any specific source file type for conversion.
Step 3: Browse to select document files individually or entire folders with the second option.
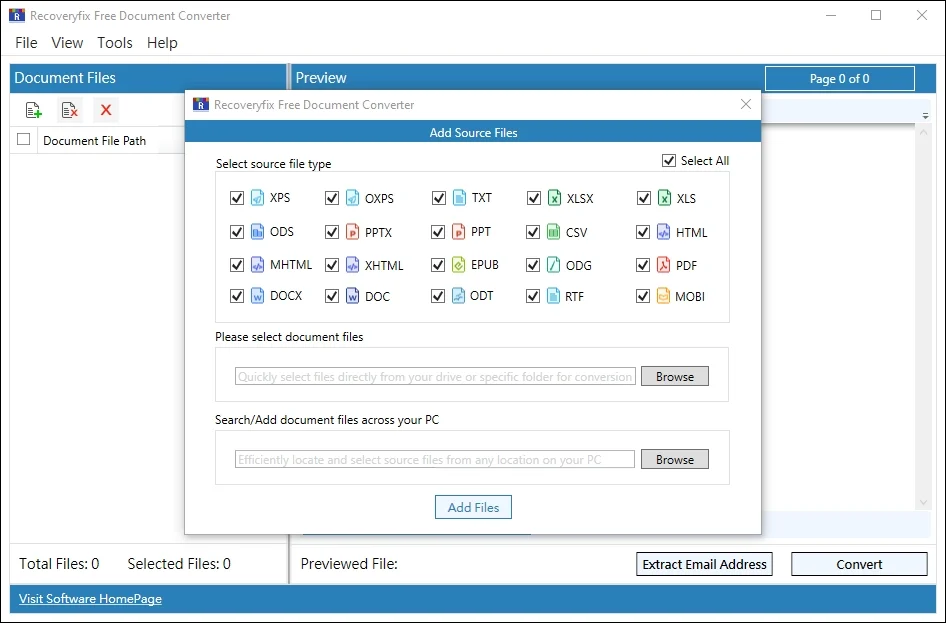
Step 4: Here, we are choosing the entire folder. Once done, click on Select Folder to proceed.
Step 5: Click on Add Files after the file or folder selection is completed.
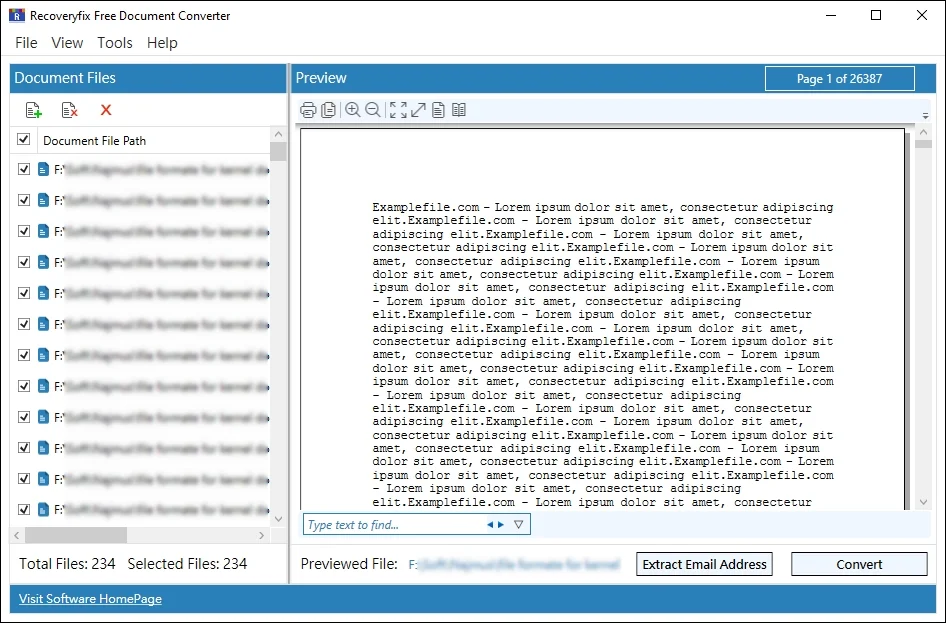
Step 6: Preview the added files by clicking on them. Besides that, the preview section also allows you to perform different operations:
- Print directly from the tool.
- Zoom controls for better visibility.
- Copy text from the XPS or OXPS files.
- Select Theme Settings from Blue, Fuchsia, Green, Dark, or Orange.
- Type text to find (using whole word, case, diacritic, Kashida, or Alef Hamza) within the documents.
Step 7: After previewing the file, select all or only the required files to Extract Email Address from them.
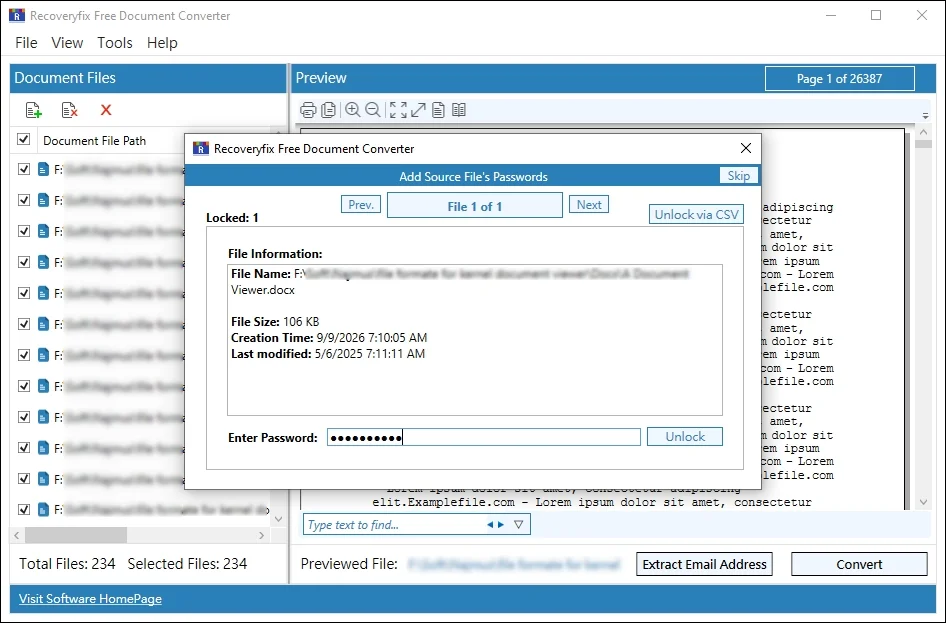
Step 8: Enter Password to Unlock the protected files for conversion.
Note:In case of multiple files, you can use the Unlock via CSV option to unlock and convert them with the password-mapped CSV file.
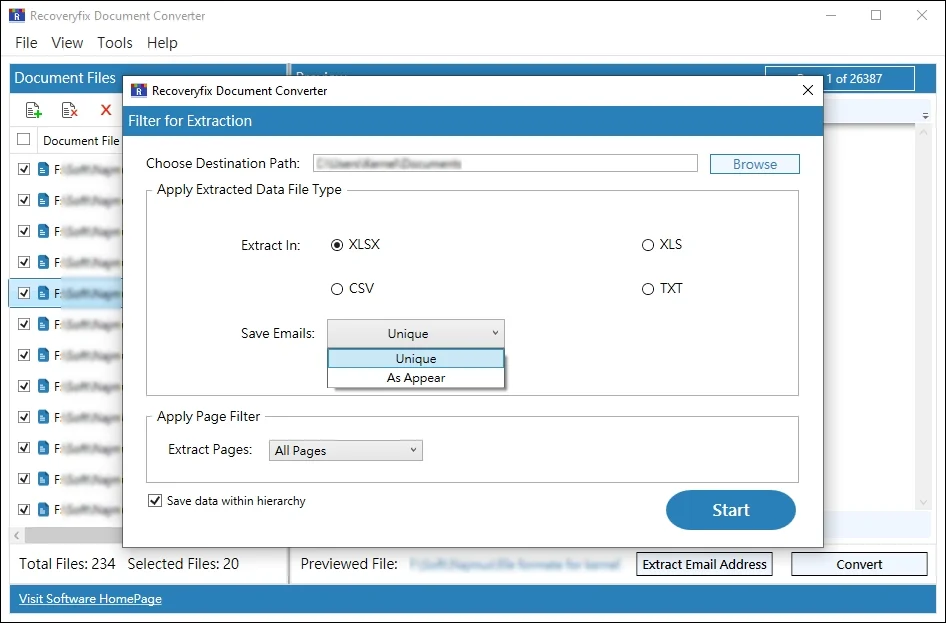
Step 9: Browse to select the Destination Path. Then, choose the Extracted Data File Type from:
- CSV
- TXT
- XLS
- XLSX
Note:Save complete or unique email addresses from the added document files.
Step 10: Once done, Apply Page Filter to extract:
- All Pages
- Even Pages
- Odd Pages
- Page Ranges
- Page Numbers
Check mark the Save data within hierarchy option & Start the extraction process.
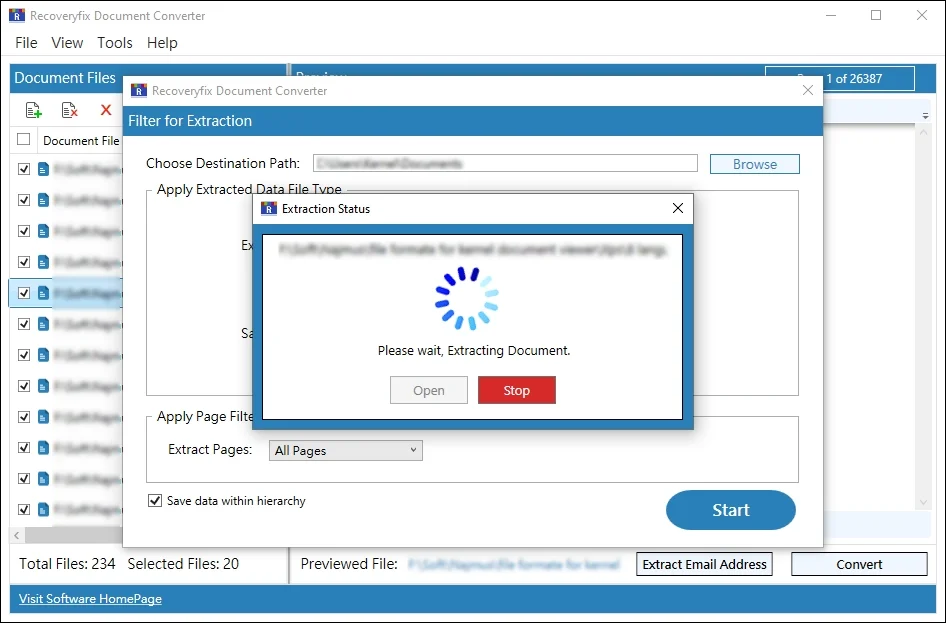
Step 11: It will start extracting the email addresses from the added files.
Step 12: Finally, Open to see the extracted email list directly after the process is completed.